On this page
Start at joints and penetrations
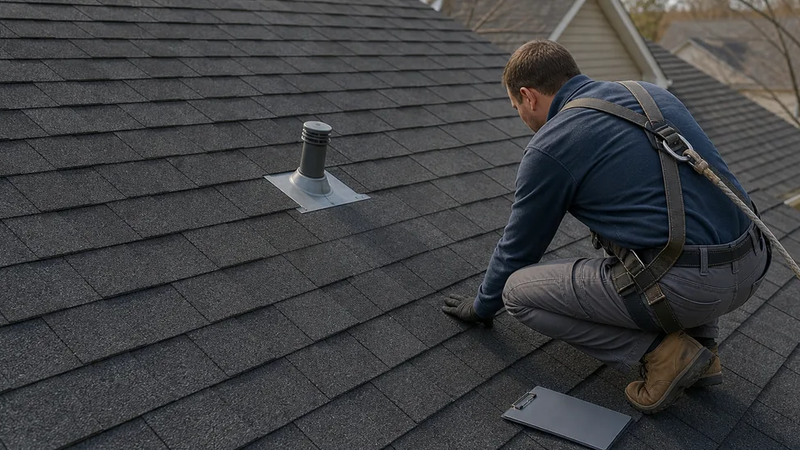
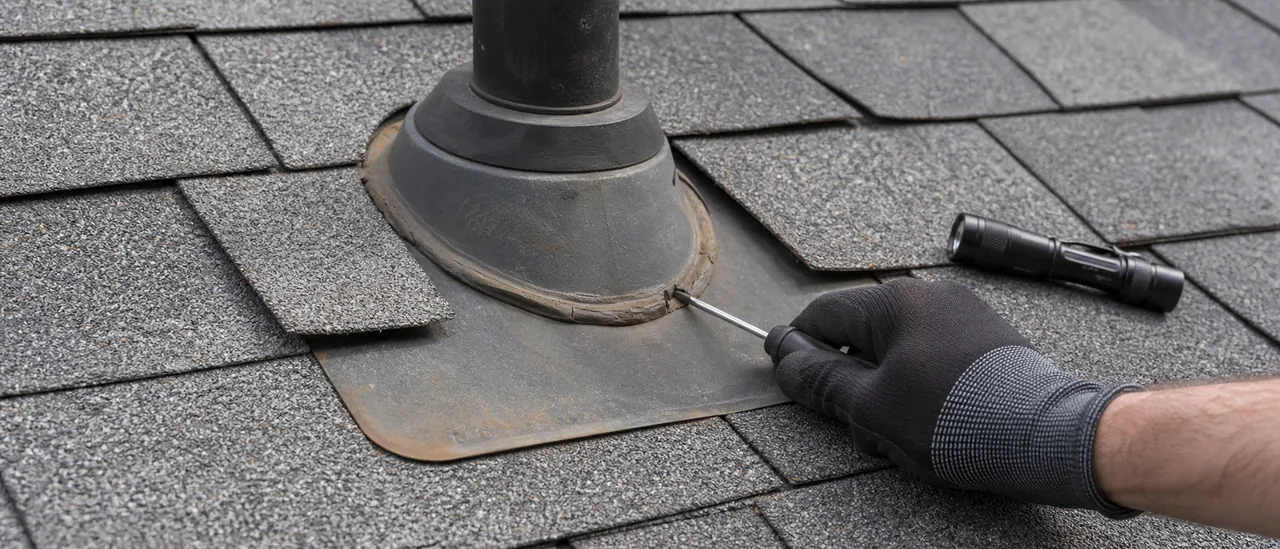
Inspectors first locate exposed sealant at roof penetrations, flashing edges, fastener heads, curbs, and transitions between materials. They view each reachable bead in context, because caulk is a common label for several sealant materials—not a separate roof system.
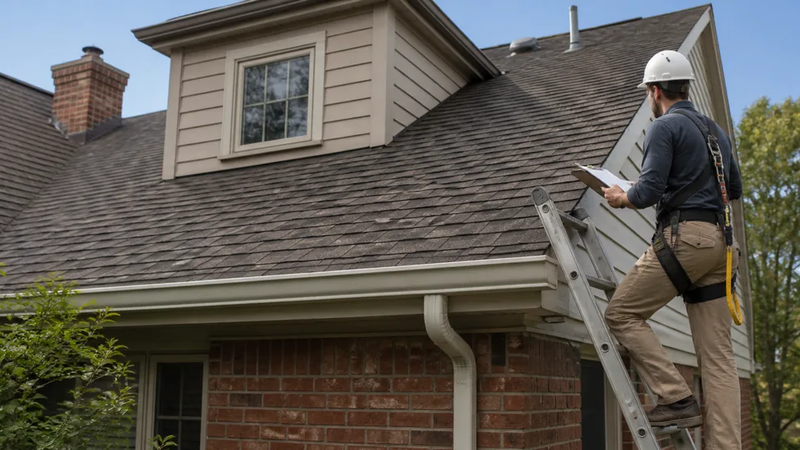
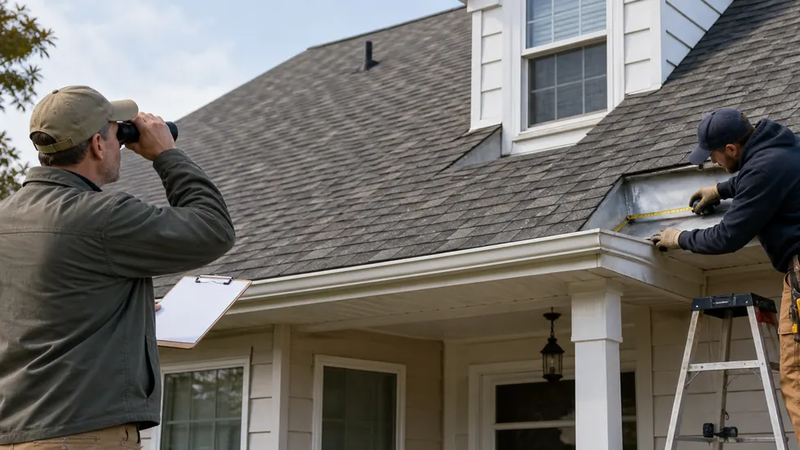
Access determines how close that examination can be. The inspector records whether the roof was viewed from the ground, eaves, a ladder, or the roof surface, along with areas that were not visible. A standard home inspection covers readily accessible, visually observable components; it is not a destructive sealant test.
Roof access is a safety decision
Do not climb up to repeat the inspection. Steepness, height, wet or fragile materials, snow, and other conditions can make access unsafe or risk damaging the roof. An inspector may use another vantage point and should document the resulting limitation.
What the visual check follows
The inspection normally moves along exposed joints rather than treating every dab of material as equivalent. At each location, the inspector looks for:
- missing sections, open gaps, or an interrupted bead;
- cracks or splits through the sealant;
- edges pulling away from the adjoining material;
- excessive shrinkage, hardening, softening, or surface deterioration;
- patching that blocks drainage or substitutes for needed flashing; and
- nearby staining, corrosion, dampness, or other visible signs of water entry.
The surrounding assembly matters. A sound-looking bead cannot correct absent, loose, or poorly arranged flashing. Conversely, an untidy bead is not automatically leaking. The report should separate the observed condition from a conclusion about its cause.
What sight alone cannot confirm
Visual examination can document continuity, shape, surface condition, and obvious separation. It cannot prove continuous adhesion beneath the bead, identify the material formulation, establish how well the substrate was prepared, or guarantee watertight performance.
ASTM C1521 describes specialized destructive and nondestructive procedures for evaluating installed weatherproofing-sealant adhesion. Even that standard limits the result to adhesive-bond characteristics; it does not evaluate the bead’s performance as a weatherseal. Destructive testing also creates an area that requires immediate repair.
That distinction matters when a bead appears intact but leakage persists. Hidden bond loss, concealed flashing details, or water entering elsewhere may remain outside a visual inspection.
When further evaluation is appropriate
The inspector should document the location, visible defect, inspection method, and any access limitation. Photographs help show whether the concern is a local crack, widespread separation, or a joint obscured from view.
Further evaluation is appropriate when sealant is visibly open or detached, moisture evidence appears nearby, repeated patching obscures the assembly, or the source of leakage remains uncertain. A qualified roofing professional or building-envelope specialist can determine whether targeted adhesion testing, selective removal, flashing work, or another investigation is justified.