On this page
The photos to take
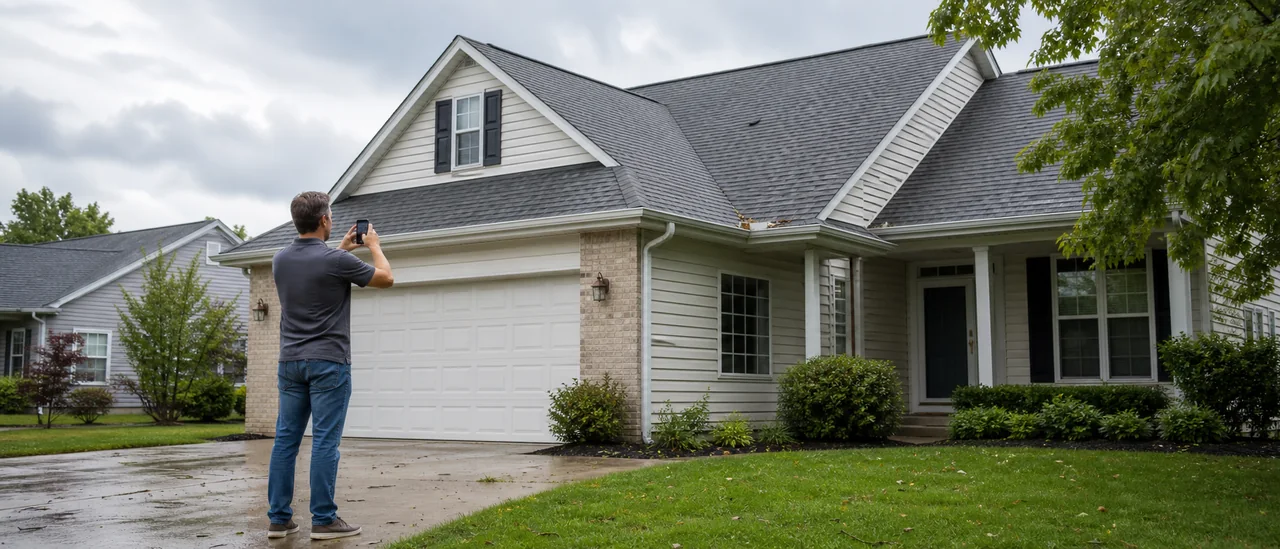
Take a sequence that moves from the whole house to specific details, using the ground and other safe, accessible locations. The goal is to show where each photo belongs, not merely collect close-ups that could be from any roof.
Start only after the storm has passed and the area is safe. Outagamie County emergency-management guidance advises photographing damage before major cleanup, when safe, and taking pictures from different angles.
Stay off the roof
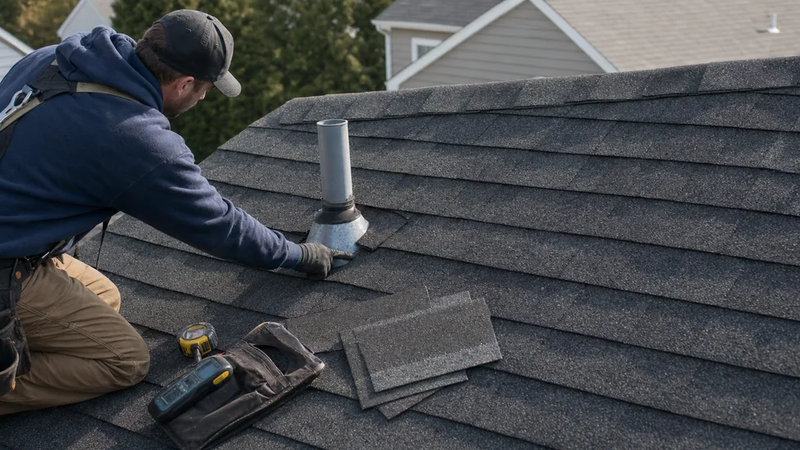
Do not climb a ladder or walk the roof just to get a better picture. The National Roofing Contractors Association advises property owners to inspect storm-affected roofs only from ground level because proper fall-protection systems are needed.
A practical shot list
Walk around the home where conditions allow, then capture:
- One wide view from each accessible side. Include the roofline, walls, and surrounding trees or fallen debris. Corner views can efficiently show two sides.
- A medium view of every visible roof plane. Photograph slopes from more than one angle when trees, dormers, or adjoining roofs block the view.
- Zoomed details of visible changes. Examples include missing, displaced, curled, cracked, or punctured roof covering; exposed underlayment; bent metal; and debris resting on the roof.
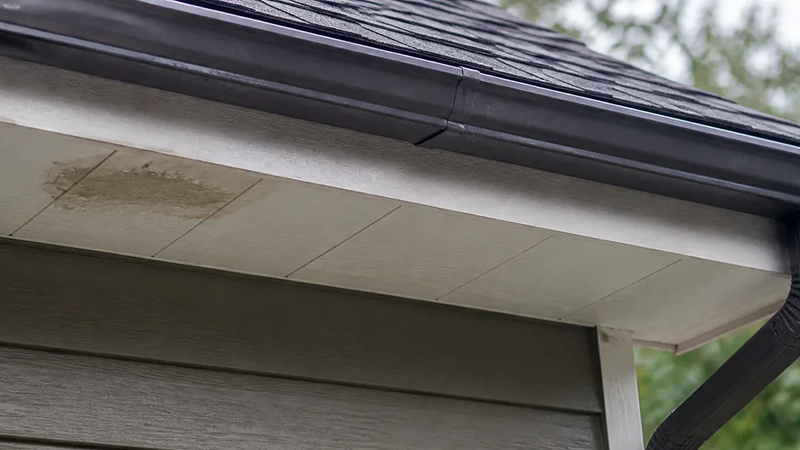
- Roof edges and penetrations. Capture ridges, valleys, eaves, rakes, flashing, vents, skylights, chimneys, gutters, downspouts, fascia, and soffits when visible.
- Related exterior clues. Photograph fallen limbs, damaged siding, screens, windows, fences, rooftop equipment, and displaced material on the ground.
- Indoor signs. Record ceiling or wall stains, active drips, damp insulation, or visible attic water—but enter only areas that are structurally and electrically safe.
FEMA damage-inspection training uses the same basic visual logic: show overall conditions from a distance, then isolate specific damage in close-ups. Clear lighting and perspective matter more than extreme magnification.
Make each photo understandable
Take a wide context image before every detail image. Then photograph the detail from two angles and review it for blur before moving on. Keep the original files so their capture time and resolution remain available.
For scale, place a ruler beside an indoor stain only when doing so is safe. Do not throw objects onto a roof or reach overhead to create scale. Add a short note such as “rear slope, near chimney” so another person can locate the subject.
What photos cannot establish
Photos document visible conditions at a moment in time. They cannot confirm the cause, depth, age, or full extent of roof damage. A clean-looking image also cannot rule out loose attachments, concealed moisture, or damage hidden by the roof’s angle.
If you see active leaking, displaced materials, sagging, or cannot safely view an important area, preserve the photos you have and arrange a qualified roof evaluation.