On this page
Start with a safe, full-length view
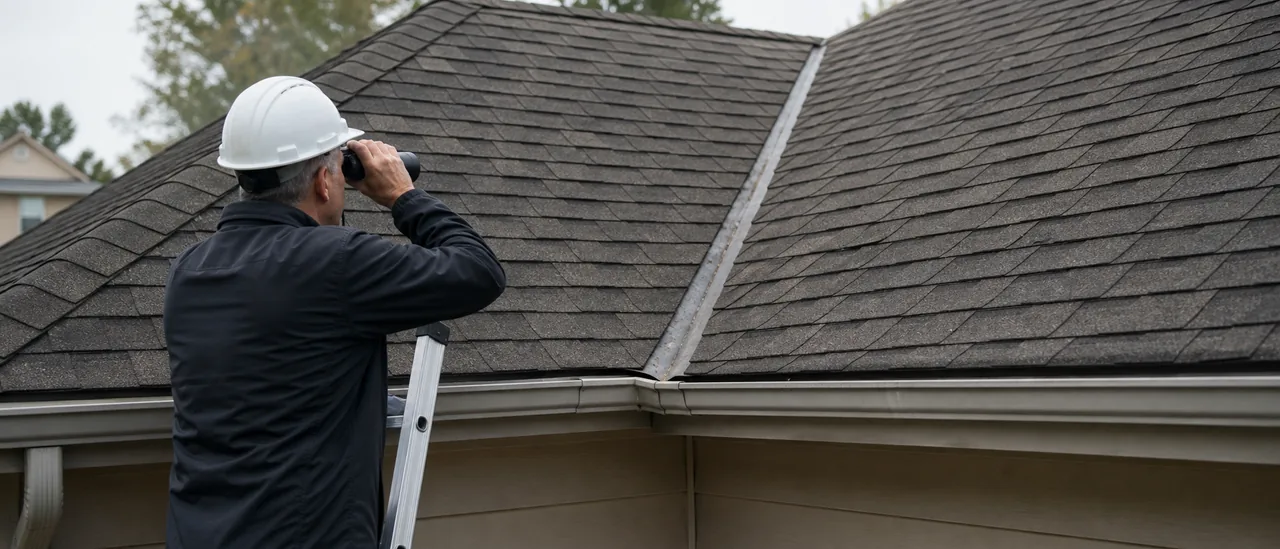
Inspectors first trace each valley from its upper end to the eave from a safe viewing position. A valley is the inward, V-shaped intersection where two sloping roof planes meet. It concentrates runoff, so the covering, flashing, and exit path all matter.
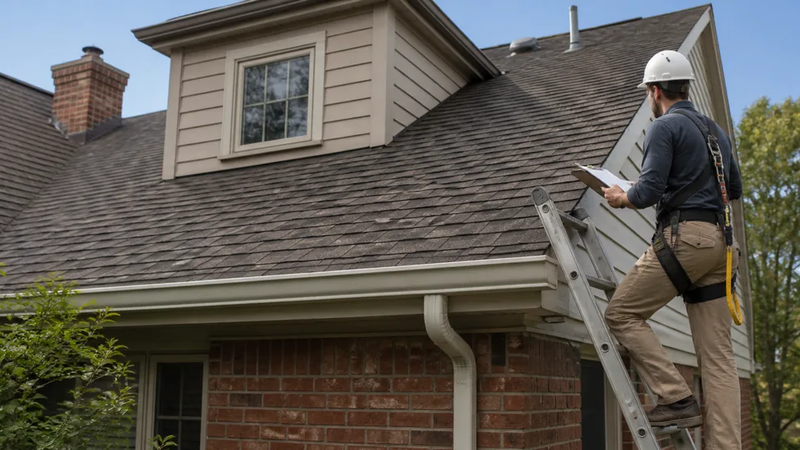
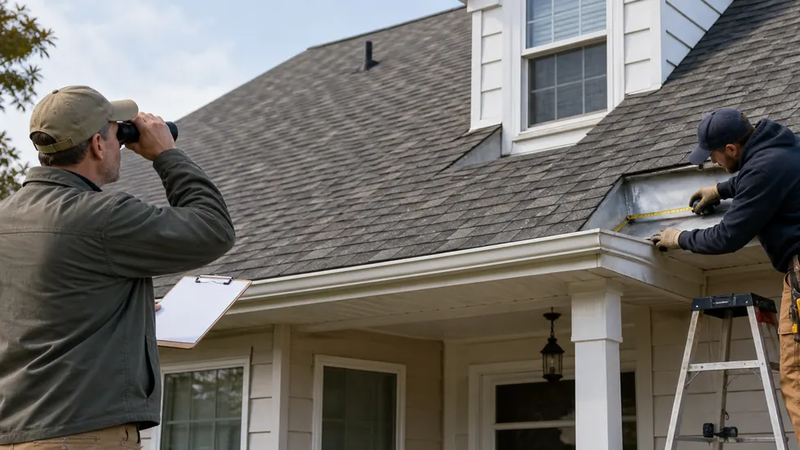
The initial view may come from the ground, an eave ladder, a window, or another accessible position. A walk-on examination is used only when access, slope, weather, materials, and fall protection make it appropriate. The report should identify the inspection method and any areas that could not be seen.
Roof access is not a do-it-yourself inspection step
Steep, wet, icy, fragile, or deteriorated surfaces can make close access unsafe. Walking can also crack tile or damage other vulnerable coverings. Use binoculars or another safe viewpoint and leave roof access to a properly equipped professional.
Follow the valley from top to bottom
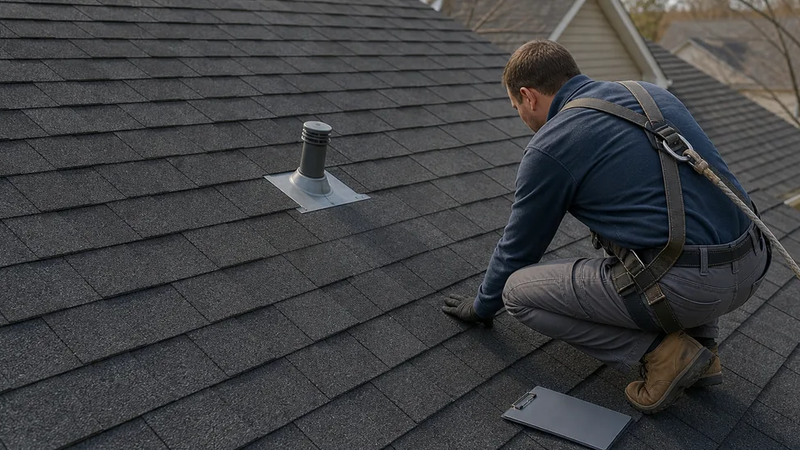
At close range, the inspector identifies whether the valley has exposed metal flashing or is covered by roofing material. That distinction controls which details are visible. The examination then follows a consistent sequence:
- Check the upper transition. Look where the valley begins and where nearby ridges, walls, chimneys, or penetrations complicate water flow.
- Examine the covering and visible flashing. Note displaced, cracked, worn, or missing material; corrosion; open seams; lifted edges; exposed fasteners; and questionable patches.
- Check the drainage channel. Record leaves, sediment, moss, or other buildup that blocks the path or traps moisture. Follow the channel to the eave and confirm that runoff has a clear route into the gutter or away from the roof edge.
- Look for related evidence below. When the attic and interior are accessible, inspect the corresponding underside, sheathing, insulation, ceilings, and walls for staining or dampness.
Photos should show both the overall valley and close details, with locations recorded clearly. A finding such as corrosion, debris, or a displaced shingle is an observation—not proof of the defect’s cause or the condition of concealed layers.
What the surface cannot confirm
A visual inspection generally cannot verify concealed valley lining, underlayment laps, hidden fasteners, or the roof deck beneath intact covering. A dry stain may document past moisture without proving an active leak.
When further evaluation is appropriate
Closer professional evaluation is reasonable when access prevented a useful view, visible materials are damaged, runoff is obstructed, moisture is present, or the report cannot determine the extent of a suspected defect. Depending on the roof, that evaluation may require moisture testing or carefully opening materials—work beyond a standard visual inspection.
Related reading: Does every roof inspection require walking on the roof?